No Beads, No Clasps, No Problem: The Summer Bracelet You Can Wear Into the Ocean
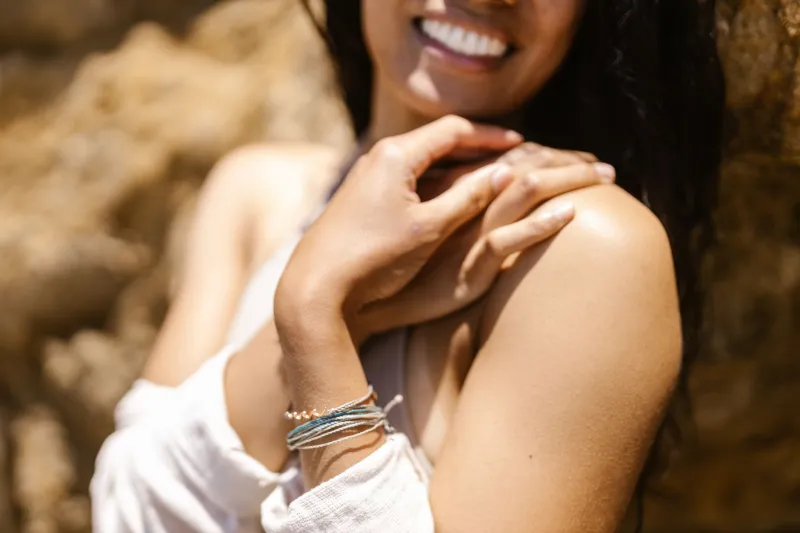
Every summer, I hear the same complaint from readers: "I love making jewelry, but I never wear it in July." And honestly? Fair. Who wants to baby a bracelet with a delicate clasp while slathering on sunscreen at a lake in Michigan or chasing kids through a sprinkler in Texas?
That's exactly why macramé and sliding-knot bracelets are my warm-weather obsession. They're cord, knots, and nothing else. No crimp tubes to fail. No clasps to snag. You can tie one on, forget about it, and it'll survive the pool, the shower, and that questionable beach vacation week in the Outer Banks.
Why Knots Beat Clasps in the Heat
Most jewelry fails at its weakest point, and that point is almost always hardware. Heat, sweat, chlorine, and salt water are brutal on crimps and jump rings. A tight knot, though? It gets stronger when wet. Nylon cord softens slightly in water and grips itself even tighter, which means your bracelet literally improves the more you wear it.
Plus, the sliding-knot closure means the bracelet adjusts to your wrist as it swells in the heat. Try that with a fixed-length beaded strand.
What You'll Need
Here's the beautiful part — the supply list fits in a sandwich bag:
- 1mm–1.5mm nylon cord or waxed polyester cord (S-Lon and C-Lon are the workhorses here; roughly $3–5 for enough to make a dozen bracelets)
- Sharp scissors or thread snips
- A clipboard, masking tape, or a chip clip to anchor your work
- A bit of glue (E6000 or clear nail polish) for sealing ends — optional but tidy
Skip the cotton cord for anything water-adjacent. Cotton stretches, fades, and takes forever to dry. Waxed nylon is the move.
Pattern One: The Classic Sliding Square Knot
This is the gateway knot. If you can tie your shoes, you can make this bracelet.
- Cut two cords: one 30-inch length (your core), one 60-inch length (your knotting cord).
- Anchor the center of both cords to your clipboard, leaving a few inches of tail on each end.
- With the long cord, tie square knots around the core: left cord over, right cord under, through, and pull. Repeat right over left to keep the knots flat and even.
- Knot until the band wraps around your wrist with about an inch of overlap.
- Now the magic: overlap the two tails and tie about eight square knots around all four tail cords to create the slider. Trim, seal with a dab of glue, done.
The bracelet now expands over your hand and cinches snug. Total time: about 20 minutes, including the fumbling.
Pattern Two: The Half-Hitch Spiral
Once square knots feel comfortable, switch to half hitches on one side only. Instead of alternating left-over-right and right-over-left, keep knotting in the same direction. The band will naturally twist into a spiral — it looks fancy and takes zero extra effort.
Pro tip from my own trial and error: check your spiral direction after every inch. If you zone out and switch directions, you'll get a weird zigzag lump. Ask me how many practice bracelets it took to learn that.
Pattern Three: The Double-Wrap Slider
Want something with a little more presence? Double your core length and knot a band about seven inches long. Because of the sliding closure, it wraps twice around your wrist and stacks beautifully — think festival season, or layered with a beaded strand on the other wrist.
This is also the pattern I teach first at my library craft nights, because the double wrap reads as "real jewelry" even when the knotwork is wobbly. Beginners leave with something they're genuinely proud of.
Cord Colors That Actually Work
Color pairing is where these go from craft project to accessory. My reliable combos:
- Sandy neutrals: tan cord with a natural leather accent knot — perfect with denim shorts and white tees
- Coastal brights: turquoise and coral, obviously — it's a cliché for a reason
- Moody contrast: charcoal cord with a single strand of metallic gold thread knotted in
- Neon pop: hot pink or lime on the core with black knots — very early-2000s revival, very fun
If you're nervous, go tonal. Two shades of the same color always looks intentional.
The Perfect Beginner Project
If wire wrapping and crimping have ever made you want to quit before you started, start here. There's no bead hole to thread, no tool beyond scissors, and no way to make an unfixable mistake — you just cut the knot and re-tie it. A $4 spool of cord will get you through an entire summer of gifts, camp projects, and rainy afternoons.
Tie one on this weekend. Then don't take it off until September.