Grandma's Button Jar Is a Goldmine: Wire-Wrapped Statement Necklaces for Under Ten Bucks
I have a confession that will make sense in about four paragraphs: I can't walk past a jar of buttons at a thrift store. Doesn't matter if I'm at Goodwill on a Tuesday or a church rummage sale in my aunt's garage — if there's a dusty mason jar full of orphaned buttons within eyeshot, I'm buying it. Usually for less than what I'd spend on a fancy latte.
And here's the thing: those buttons are secretly jewelry supplies in disguise.
Why Buttons Beat Beads (Sometimes)
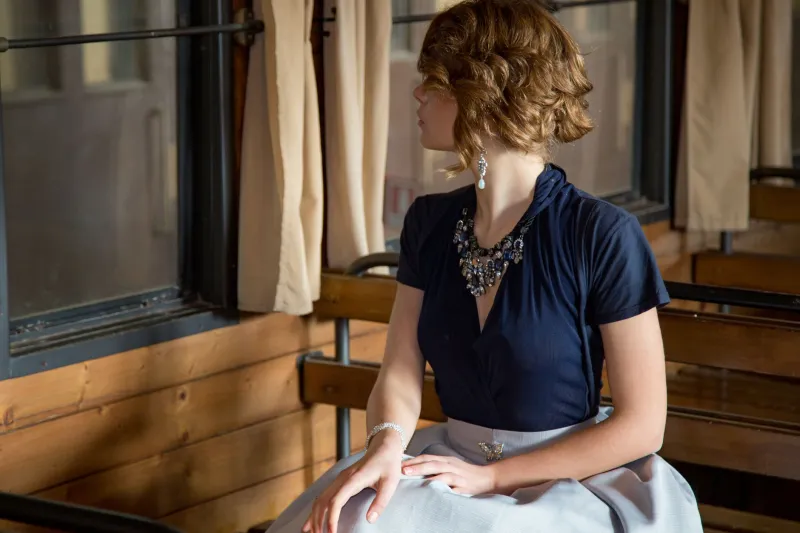
Most craft buttons at the big box stores are plastic and boring. But vintage buttons — the glass ones from the 1940s, the carved Bakelite pieces, the rhinestone-set brass beauties from the '50s — have a weight and character that beads just can't touch. They were made to be seen up close, on a garment, by people standing right next to you. Sound familiar? That's basically the job description of a statement necklace.
Better yet, they're cheap. Estate jewelry sellers have caught on to Bakelite, but buttons fly under the radar. I've built entire necklaces around a $2.99 jar haul.
Where to Hunt
A few spots that consistently deliver for me here in the US:
- Goodwill and Salvation Army: Head straight for the sewing/notions bin near the craft section, or scan the front counter where they keep small bagged items. Also check the women's coats — sometimes the buttons alone are worth the price of the coat.
- Estate sales: Look for the sewing room. Always the sewing room.
- Flea markets and antique malls: Vendors often have flat cases of buttons priced individually. Glass and rhinestone buttons usually run $1–5 each, which is still a steal.
- Your relatives: Seriously. Ask your mom, your grandma, your great-aunt Ruth. Every older relative I know has a button tin, and most are delighted someone wants it.
What to look for: metal shanks (the little loop on the back) are easiest to work with, but don't pass up two- and four-hole buttons — I'll show you what to do with those. Skip anything cracked, and give everything a gentle cleaning with mild soap and water before you start.
The Basic Technique: Wrapped Button Pendant
This is the beginner version, and it takes about twenty minutes.
You'll need: one hero button (1 inch or bigger), 18-gauge craft wire, round-nose pliers, chain-nose pliers, wire cutters, and a chain or cord.
- Cut about 10 inches of wire and slide it through the button's shank or two top holes, centering it.
- Bring both wire ends up so they cross above the button, forming a triangle.
- Grip the crossing point with your chain-nose pliers and wrap one wire end around the other two or three times to secure it.
- Take one wire end and wrap it around your round-nose pliers to form a loop, then wrap the tail neatly around the stem below the loop. Trim and tuck.
- Repeat with the other wire end so you have a neat wrapped bail at the top.
- Slide it onto a chain. Done.
That's it. That's the whole skill. Everything else is just repeating this with more confidence and better buttons.
Variation Two: The Button Cluster (Intermediate)
Once you can wrap one button, wrap five.
Pick a color family — I love mixed milk glass whites or a jumble of brass and jet black. Wrap each button individually, but leave a 2-inch wire tail below each bail. Then twist those tails together around a head pin or each other, staggering the buttons so they hang at different lengths. Attach the cluster to a chunky chain and you've got a bib-style necklace that looks like it came from a boutique in Santa Fe.
Pro tip: mix button sizes. One big button flanked by two small ones reads as intentional. Five identical buttons reads as, well, five identical buttons.
Variation Three: The Button Ladder (Advanced)
For this one you'll need six to nine two-hole buttons and about three feet of 20-gauge wire.
Create a long wire spine with a wrapped loop at the top. Thread buttons onto a second wire, connecting each one to the spine by passing the wire through both button holes and wrapping once at each connection point. The buttons will sit in a vertical ladder, and you can add small crystal or glass beads between them for sparkle. It's fiddly, and your first attempt might look like a fishing lure — mine absolutely did — but the third one you make will get compliments at every grocery store run.
A Word on Finishing
Because buttons are rigid, add a little flexibility wherever your piece meets the neck. A short section of chain on each side of the clasp helps the whole thing drape instead of sticking out like a collar. And always use a sturdier clasp than you think you need — statement pieces get grabbed and pulled.
The best part of this whole obsession? Every single necklace is one of one. Nobody else on earth has your great-aunt Ruth's rhinestone button hanging from their chain. That's the kind of handmade magic you can't buy, even at the flea market — though you can absolutely buy the raw materials for ten bucks.