Skip the Craft Store Run: Make Gorgeous Beaded Earrings in One Coffee Break

Okay, friends, this is the project I hand to every beginner who swears they 'aren't crafty.' If you can string cereal onto a pipe cleaner, you can make these earrings. We're using memory wire — the pre-coiled wire that holds its shape — so there's no wire-wrapping, no crimping, and honestly no real skill required. By the time your latte has gone lukewarm, you'll have a finished pair.
Why Memory Wire Is a Beginner's Best Friend
Regular wire fights back. Memory wire? It springs back into a perfect loop no matter what you do to it. It's also cheap — a single coil pack makes dozens of pairs. The loops hold their shape on their own, which means we skip the fancy stuff entirely.
Your Shopping List (Realistic US Prices)
Everything here is available at Michaels, Hobby Lobby, or Joann, and most of it is under five bucks:
- Memory wire earring loops — about $3 for 40+ loops
- Glass seed beads, size 8/0 — $3–5 for a big mixed tube (the metallic mixes look especially pricey)
- 4mm accent beads or pearls — around $4
- Jump rings, 6mm — $3 for a pack of 100
- Nickel-free ear wires (fishhook style) — $4–6 for a pair of 10
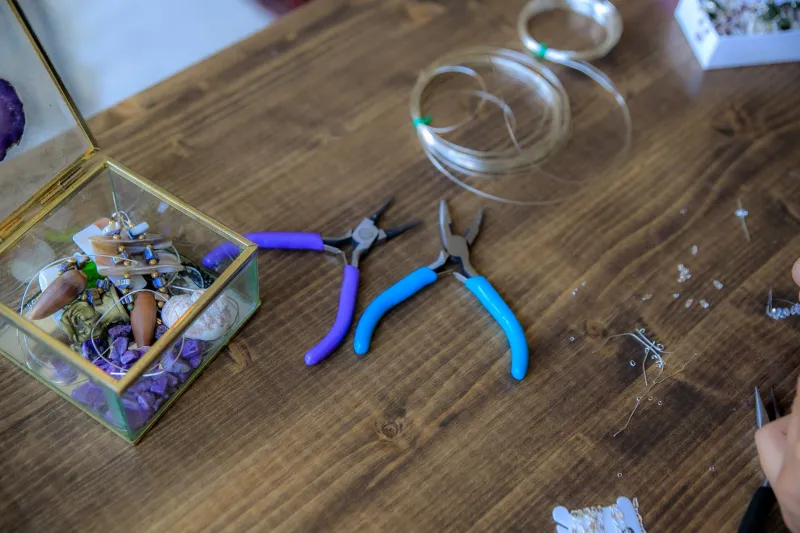
- Chain-nose pliers — $5 if you don't own any, but a pair from the junk drawer works fine
Total damage: roughly $20–25, and you'll have enough supplies for eight to ten pairs. That's about $2.50 per pair of earrings — which matters later if you want to sell them.
Let's Make Them: Step by Step
Step 1 — Thread your beads. Slide seed beads onto one memory wire loop, leaving about a quarter inch of space on each end. Play with a color pattern — I like three seed beads, one pearl, repeat. Don't overthink it; asymmetry looks intentional, I promise.
Step 2 — Close the loop. Grab the exposed end with your fingers (or pliers if the wire is stubborn) and bend it back into the coil so the beads can't escape. That's it. No crimp beads, no glue, no swearing.
Step 3 — Add the ear wire. Open a jump ring by twisting the two ends sideways — never pull it apart into a C shape, that weakens it. Slip the jump ring through the top of your beaded loop and the hole in the ear wire, then twist it closed.
Step 4 — Repeat and admire. Make the second earring, hold them up, and feel unreasonably proud of yourself. Total time? Genuinely about ten minutes on your first try.
Want to Make Them Yours?
Swap the seed beads for tiny crystal bicones for a holiday-party version. Use university colors for game day (hi, SEC friends). For fall, mix amber and gold beads — they photograph beautifully and sell like crazy at October craft fairs.
Turning a Coffee Break Into a Side Hustle
If you enjoy these and want to sell them at a local market or on Etsy, a few quick realities:
- Materials run about $2.50–3.50 per pair, so pricing at $15–22 gives you a healthy margin without underselling your work.
- Check your materials. Nickel-free or sterling ear wires are worth the upgrade — sensitive ears are real, and repeat customers will thank you.
- Photograph on a plain background. A white poster board and daylight beat any ring light.
- Time matters. Once you hit the five-minute mark per pair, you can realistically make 40–50 pairs in a weekend. That's a legit market table.
One last thing: make a pair for yourself first. Wear it, get compliments, and let that be your marketing plan. Happy stringing, friends — and don't blame me when you start beading during Zoom meetings.