Quart Bag, Full Heart: How I Pack a Beading Kit That Survives TSA and Turbulence
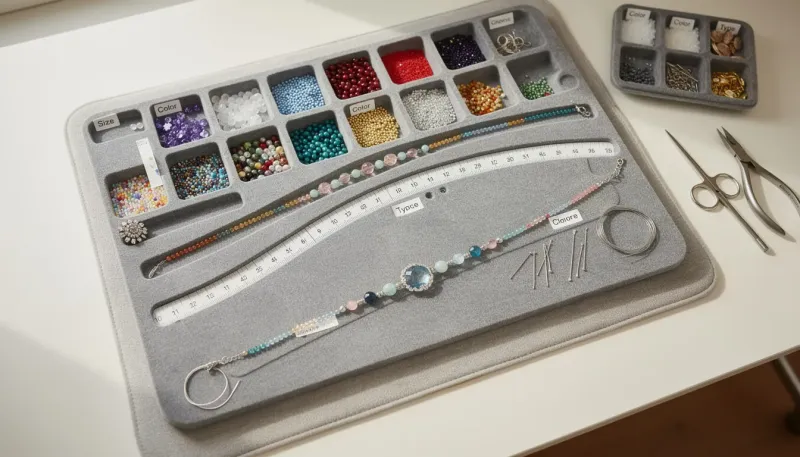
Photo: small travel beading kit zip bag airplane tray table handmade bracelet, via images.surferseo.art
I used to treat vacations as a bead-free zone. Then one rainy afternoon in a Michigan lake house — no Wi-Fi, one paddleboard, three bored adults — I found myself stringing a bracelet from a tiny kit I'd thrown in 'just in case.' Now, if I fly anywhere without my beading kit, I get twitchy by day two.
But here's the thing: packing beads for travel is an entirely different animal than packing for your craft room. You have limited space, the TSA has opinions about pointy things, and nobody wants to spend their vacation crawling under a hotel bed chasing a crimp bead. So let me walk you through the exact system I've refined over about a dozen trips.
The Quart Bag Rule
If it doesn't fit in one quart-size zip-top bag, it doesn't go. That's it. That's the rule. And honestly? The constraint has made me a better designer, because a travel kit forces you to commit to one palette and one project type before you leave.
Here's what's in mine right now:
- One small travel tube of beads (the kind with flip-top lids — loose baggies spill, ask me how I know)
- Pre-cut cord or elastic, already measured to finished length. Scissors in a carry-on are a gamble, so I cut at home.
- A bead mat folded into quarters — mine is a square of fun foam from the craft store, which doubles as a bead-tray on hotel comforters
- A pill organizer with my crimp tubes, covers, and a handful of accent beads separated by compartment
- One needle-nose plier — yes, it's TSA-approved. I've flown with it out of Reagan National, LAX, and O'Hare without a single beep. Flat-tip works too, but round-nose gets flagged less because it looks less like a weapon and more like a tool.
That's the whole kit. It lives in my carry-on permanently, so packing for a trip takes zero brainpower.
What NOT to Bring on a Plane
I learned this one the hard way somewhere over Nebraska, when I dropped a head pin, watched it roll three rows forward, and spent the rest of the flight pretending I wasn't the person crawling around row 23.
Skip these in-flight:
- Wire-wrapping. It needs wire, cutters, and elbow room. It's a hotel-room project, not a tray-table project.
- Anything with loose sequins or seed beads under 8/0. You will lose them. They will end up in the seat pocket.
- Projects requiring glue. Pressurized cabins plus E6000 is a smell nobody signed up for.
The plane seat is for elastic cord bracelets and stretchy stacking sets. No clasps, no crimps, no tools beyond your fingers, and if you drop a bead, it's one bead. I can finish a full three-stack set in a two-hour flight, and there is something deeply satisfying about deplaning with jewelry.
Save the Fiddly Stuff for the Hotel
Once I'm at the destination, the kit expands slightly — I'll add a compact bead board (or just a folded towel as a design surface) and tackle crimped, clasped projects in the evening. Hotel desk lamps are shockingly good beading light, and there's no guilt in beading through a movie the way there is at home with a to-do list staring at you.
Pro move: pre-thread your projects with a bead stopper before you leave home. Then your vacation work is pure stringing and finishing — no design decisions required after a long travel day.
Souvenir Beads: The Best Part
Here's where travel beading gets really fun. Every trip, I hunt for one bead-ish thing:
- A single charm from a beach town shop
- A vintage bead from a flea market (Santa Fe and Charleston are goldmines)
- That pressed-glass pendant from a museum gift shop that would cost triple online
When I get home, those finds get strung into a finished piece — and suddenly my souvenir isn't sitting in a drawer. It's on my wrist, next to beads from my stash, holding an actual memory. I call them my itinerary bracelets. My friends know that if they compliment one, they're about to hear about the trip.
The Packing Checklist, Condensed
Before you zip that bag, run through this:
- Beads in lidded tubes, not bags
- Cord pre-cut, projects pre-threaded
- One plier, in the bag, easy to pull out for screening
- Fun-foam mat
- Zero glue, zero cutters, zero regrets
That's it. Five things, one quart bag, and a hobby that travels as well as you do. The next time your flight gets delayed in Denver, you won't be doomscrolling at gate B47 — you'll be finishing a bracelet. Trust me, it's a better look.
String, sparkle, repeat — even at 35,000 feet.