That Extra Inch Is Doing All the Work: A Bracelet Sizing Lesson I Learned the Hard Way
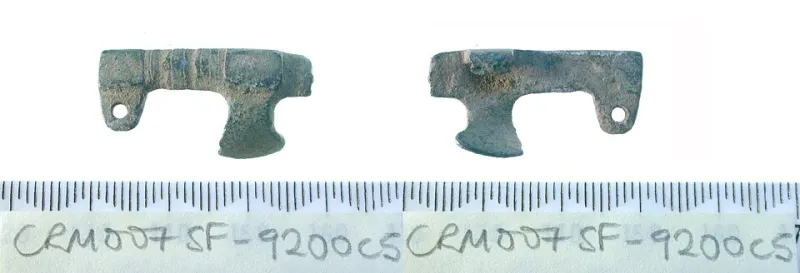
Photo: Suffolk County Council, Faye Minter, 2003-08-12 11:37:05, CC BY-SA 2.0, via Wikimedia Commons
Let me tell you about the bracelet that changed how I size everything.
A few years back, I made what I genuinely believed was my masterpiece — garnet chips, tiny gold spacers, the works. I measured my wrist, added a quarter inch for comfort, strung it up, and it was... fine. It sat in my jewelry box for a year. Not because I didn't love it, but because putting it on was a two-handed, deep-breath, hope-my-wrist-bone-cooperates situation. Nobody wants a bracelet that fights back.
The problem? I was measuring my wrist, when I should have been measuring my bracelet.
The Two-Inch Truth Nobody Puts on Bead Packaging
Here's the thing they don't tell you in beginner tutorials: a bracelet that measures exactly the same as your wrist isn't a bracelet, it's a tourniquet. Beads are rigid. They don't drape like fabric or stretch like a cuff. When a strand of 8mm rounds wraps your wrist, those beads stack up and the strand effectively gets shorter — the bigger the beads, the more they eat your ease.
My working rule now: wrist measurement plus at least half an inch for a snug fit, a full inch for everyday wear, and up to an inch and a half if you're using chunky beads or want that loose, jangly drape. Anything less and you're making a bracelet that only comes off with soap and resignation.
Your Clasp Is Lying to You
Before you cut your stringing wire, ask yourself what's finishing the piece — because clasp type changes your math.
A toggle, for instance, needs extra length to actually toggle. The bar has to pass through the ring with room to spare, so I add another quarter to half inch to my target length. Lobster claws and spring rings sit flush and don't need the bonus. And if you're adding a extender chain (do it — your future self will thank you), you've bought yourself some forgiveness, but don't use it as an excuse to eyeball the base length.
Magnetic clasps are the sneaky one. They're chunky, and that bulk counts toward the fit. I've seen gorgeous strands ruined because the magnet added what felt like a bead's worth of length to a piece that was already maxed out.
The String-and-Note Method (For Wrists That Break the Chart)
Most sizing charts assume a wrist somewhere between six and seven and a half inches. My sister's wrist is not on that chart. Neither is my neighbor Ruth's. If you're making pieces for real humans — or selling at a craft fair where real humans will try things on — you need a system that handles the outliers.
Here's what I do, and it takes about ten minutes:
- Cut a scrap length of cheap stringing wire or fishing line — nothing you'd actually use for a finished piece.
- Wrap it around the wrist snugly, the way the person actually wears their jewelry. Not over a watch. Not pushed up the forearm.
- Pinch the overlap point and lay it flat against a ruler. Write the number down. Yes, on paper. Your memory is not a ruler.
- Test the ease with beads, not math. String that same scrap wire with your actual project beads up to the wrist measurement plus an inch, tape the ends, and have them try it on. Adjust before you commit crimps.
That last step is the one everybody skips, and it's the one that saves projects. Bead size, wire thickness, clasp bulk — you can't calculate your way around all of it. But you can absolutely test it in two minutes.
Your Craft Table Cheat Sheet
Copy this down and tape it somewhere you'll actually see it:
- Wrist + ½ inch — snug fit, small beads (4–6mm), snug choker-style
- Wrist + 1 inch — everyday fit, standard 6–8mm beads ← start here
- Wrist + 1½ inches — chunky beads (10mm+), stacked and layered looks
- Toggle clasp? Add another ¼–½ inch
- Magnetic or chunky clasp? Its width counts toward the total
- Between sizes? Go up. Nobody ever returned a bracelet for being slightly loose.
Standard adult wrists for reference: most women fall between 6 and 7 inches, most men between 7 and 8 — but the string-and-note method beats any chart you'll find online.
One Last Thing Before You Crimp
Try the finished bracelet on and do the flip test: hang your hand relaxed at your side. A well-sized bracelet settles just past the wrist bone with a little slide, not a sag to your knuckles and not a squeeze. If it spins freely and doesn't leave a mark when you take it off, you nailed it.
That garnet masterpiece? I remade it with an extra inch and a proper toggle allowance. It's been on my wrist three days straight. Sometimes the difference between a bracelet you admire and a bracelet you wear is literally one inch of stringing wire.