It's Not the Beads — It's the Length: Fixing Necklaces That Hang Weird
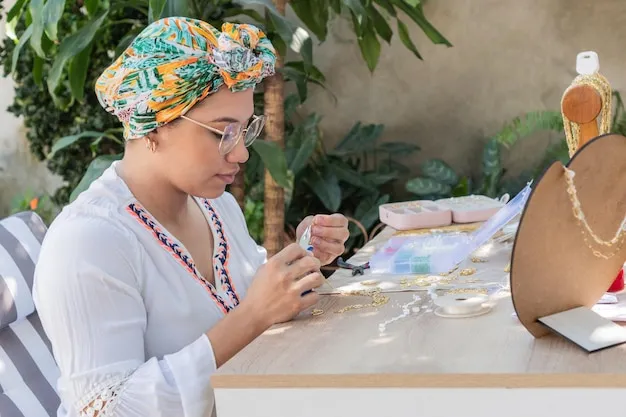
Photo: woman wearing handmade beaded necklace measuring length mirror craft table, via img.freepik.com
I can't tell you how many necklaces I've made that looked gorgeous laid flat on my bead mat and then looked straight-up wrong the second I put them on. Too short with a crew neck. Dangling into my lunch. Swallowing a v-neck whole. For the longest time I blamed my design skills — and then I learned the truth: most handmade necklaces hang wrong because of length, not design.
Ready-made jewelry follows length standards. We DIYers tend to string until it 'looks long enough,' and that's how we end up with a drawer full of pretty pieces that never leave the house. Let's fix that in about twenty minutes.
The Five Lengths That Matter
Memorize these and you'll never guess again:
- Choker — 14 to 16 inches. Sits snug against the base of the neck. Great for off-shoulder tops and statement pendants that need a stage.
- Princess — 17 to 19 inches. The workhorse. Falls just below the collarbone and plays nicely with almost every neckline. If you make one length over and over, make this one.
- Matinee — 20 to 24 inches. Sits at the bust line. Perfect over blouses and button-downs, and my go-to for layered strands.
- Opera — 28 to 36 inches. Long and dramatic, often doubled. Ideal for long work tops and, honestly, the most forgiving length on every body.
- Rope — 36 inches and beyond. Doubled, knotted, or worn solo. A wire-wrapped lariat at this length is a whole personality.
Why Your Handmade Version Feels 'Off'
Here's the part nobody tells beginners: your finished length isn't your strung length. A clasp, crimps, and a jump ring or two eat up about an inch to an inch and a half. So if you string 18 inches of beads, you've made a 19.5-inch necklace — which nudges you right out of princess territory and into matinee awkwardness.
Other sneaky culprits:
- Heavy pendants pull the front down an extra half inch or more.
- Chunky beads sit differently than small seed beads at the same measurement.
- Forgetting the extender — a two-inch chain extender turns one necklace into three lengths.
The Two-Minute Measuring Trick
Before you string a single bead, cut a piece of cheap cotton string to your target finished length. Tape the ends together, slip it over your head, and look in the mirror. Move it up and down an inch in each direction. That thirty-second check has saved me from more restringing sessions than I can count.
Want a quick cheat sheet to keep at your work station?
Kiki's Length Cheat Sheet
| Target length | String length | Best with |
|---|---|---|
| 16" choker | 14.5" of beads | Off-shoulder, scoop |
| 18" princess | 16.5" of beads | Everything, honestly |
| 22" matinee | 20.5" of beads | Blouses, button-downs |
| 30" opera | 28.5" of beads | Long tops, layering |
(Subtract roughly 1.5 inches for clasp hardware — more if your clasp is chunky.)
Pairing Length With Necklines
The golden rule: opposites flatter. A necklace that mimics your neckline's shape competes with it; one that contrasts it complements it.
- Crew neck: Go longer — matinee or opera. A choker against a high collar looks strangled.
- V-neck: Match the V with a pendant that echoes the angle, in princess length.
- Scoop neck: Princess or choker; the necklace fills the open space beautifully.
- Collared shirt: Matinee or longer, worn over the shirt.
- Off-shoulder: Choker territory. Show off that collarbone.
Quick Fixes for Necklaces You've Already Made
Don't restring just yet. Try these first:
- Add a chain extender at the clasp. Two inches of extension chain costs pennies and buys you flexibility.
- Add a pendant drop to the front. A dangling focal point visually lengthens a too-short strand.
- Double it. A too-long necklace becomes a two-strand choker-plus-matinee combo in seconds.
- Move the clasp to the side and add a front focal element — instant lariat-style redesign.
String With Intent
Once you start measuring with finished length in mind, something clicks. Your pieces stop hanging 'almost right' and start hanging like they were made for you — because now they actually were.
Grab some string, cut it to 18 inches, and see where it lands on you. I'd bet money it changes what you string next. Happy making, friends — string, sparkle, repeat.