No Craft Room, No Excuses: My Kitchen Table Beading Setup Disappears in Ten Minutes Flat
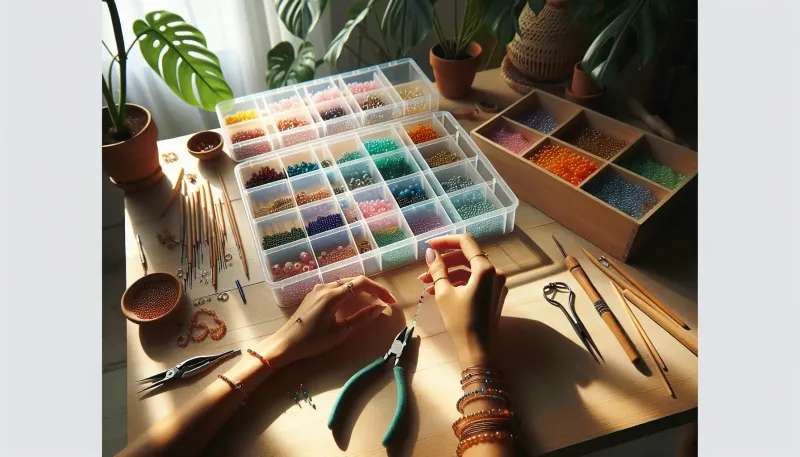
Photo: beading supplies organized on kitchen table with storage container, via craftingwithdonna.com
Let me paint the scene: a one-bedroom apartment, a kitchen table that doubles as my dining room, my office, and yes, my jewelry studio. My roommate eats dinner three feet from where I crimped a bracelet that morning. If my beading habit required a craft room, I'd have quit years ago.
Instead, I built what I call the Kitchen Table Studio — a setup that appears in thirty seconds and vanishes in ten minutes, leaving zero evidence except maybe a stray seed bead under the fridge. If you've been putting off making jewelry because you don't have 'space,' this one's for you.
The Core Philosophy: Everything Lives in One Bin
The single rule that makes a shared-space studio work is this: if it doesn't fit in the bin, it doesn't belong in the project. Mine is a 12-quart lidded tote from Target — about eight bucks — and it holds everything except the tools, which live in a zippered pencil pouch.
When I'm done for the night, the whole studio collapses back into that one container. No scattering. No 'I'll organize it this weekend.' One bin, one closure, done.
The Roll-Up Bead Mat Changed Everything
If you take one recommendation from this article, make it this: buy a roll-up bead mat (the felt ones with the snap closure, usually under $10). Beads settle into the fuzzy surface instead of skittering across the table when you bump it. The raised lip along the edge catches strays.
But the real magic is the roll. When you're finished, you literally roll the mat up — beads, project in progress, everything — snap it shut, and the whole thing slides into the bin. A half-finished bracelet stays strung and safe until tomorrow. That alone has saved me from abandoning more projects than I can count.
Lidded Trays Beat Cute Jars (I Said What I Said)
For years I stored beads in pretty glass jars on a shelf. Then I knocked one over with my elbow and spent an hour picking size 11 seed beads out of the grout lines. Never again.
Now I use shallow lidded craft organizers — the kind made for fishing tackle works great and costs less at Walmart. Each compartment holds one bead type, the lids click shut, and an avalanche is physically impossible. Stack two or three organizers in the bin and you can see your whole stash at a glance without unpacking a thing.
The other anti-avalanche trick: a small kitchen tray under my working area. It's my drop zone for the needle, the thread, the little pile of beads I'm actively using. When the table needs to become a dinner table, the tray slides into the bin last.
My Actual Ten-Minute Teardown
Here's the routine, timed it more than once:
- Minutes 0–2: Roll up the bead mat, snap it closed. Any loose beads get swept into the tray, tray into the bin.
- Minutes 2–4: Tools back into the pencil pouch. Scissors capped, pliers closed. (Rogue pliers in a drawer full of utensils is a genuine safety hazard — ask my roommate's hand.)
- Minutes 4–7: Organizer lids checked — actually checked, one click each. In-progress projects go on top so future-me finds them first.
- Minutes 7–9: Quick table wipe-down. This matters more than you'd think; bead dust and wire clippings don't belong anywhere near food prep.
- Minutes 9–10: Bin goes on its shelf, and I do the three-second scan of the floor for escapees.
That's it. Ten minutes, and the kitchen is a kitchen again.
Why Packable Beats Permanent (Seriously)
I used to think the lack of a dedicated room was holding my hobby back. Turns out the opposite was true. A packable workspace has three hidden benefits:
- Lower startup friction. When setup is one bin and one mat, there's no excuse not to start. I bead on weeknights now, not just big weekend sessions.
- Forced tidiness. A permanent studio slowly collects chaos. A bin that has to close every night can't. My supplies are more organized now than when I 'had more room.'
- Zero domestic friction. Nobody in my household resents the hobby because it never takes over shared space. That goodwill is worth more than square footage.
Small Tweaks That Make Shared Tables Work Better
A few final upgrades I've picked up along the way:
- A lap desk. If the table gets claimed mid-project, I relocate to the couch without repacking anything.
- Good task lighting that packs down. A clip-on rechargeable lamp lives in the bin. Overhead kitchen lighting lies about colors, and color is kind of the whole point.
- A 'do not touch' pouch for tiny findings. Crimp tubes and jump rings are the things that vanish forever. They get their own zip bag inside the pouch inside the bin. Belt and suspenders.
- A project log on my phone. One line per WIP — what it is, what's left to do. When I reopen the mat three days later, I'm not reverse-engineering my own intentions.
Start Tonight
You don't need the craft room. You don't need the Pinterest pegboard wall. You need one bin, one mat, lidded trays, and a teardown habit. My entire studio cost less than a nice strand of gemstone beads, and it's kept this hobby alive through two apartments and countless dinners served three feet from my workbench.
String, sparkle, repeat — then pack it up and pass the mashed potatoes.